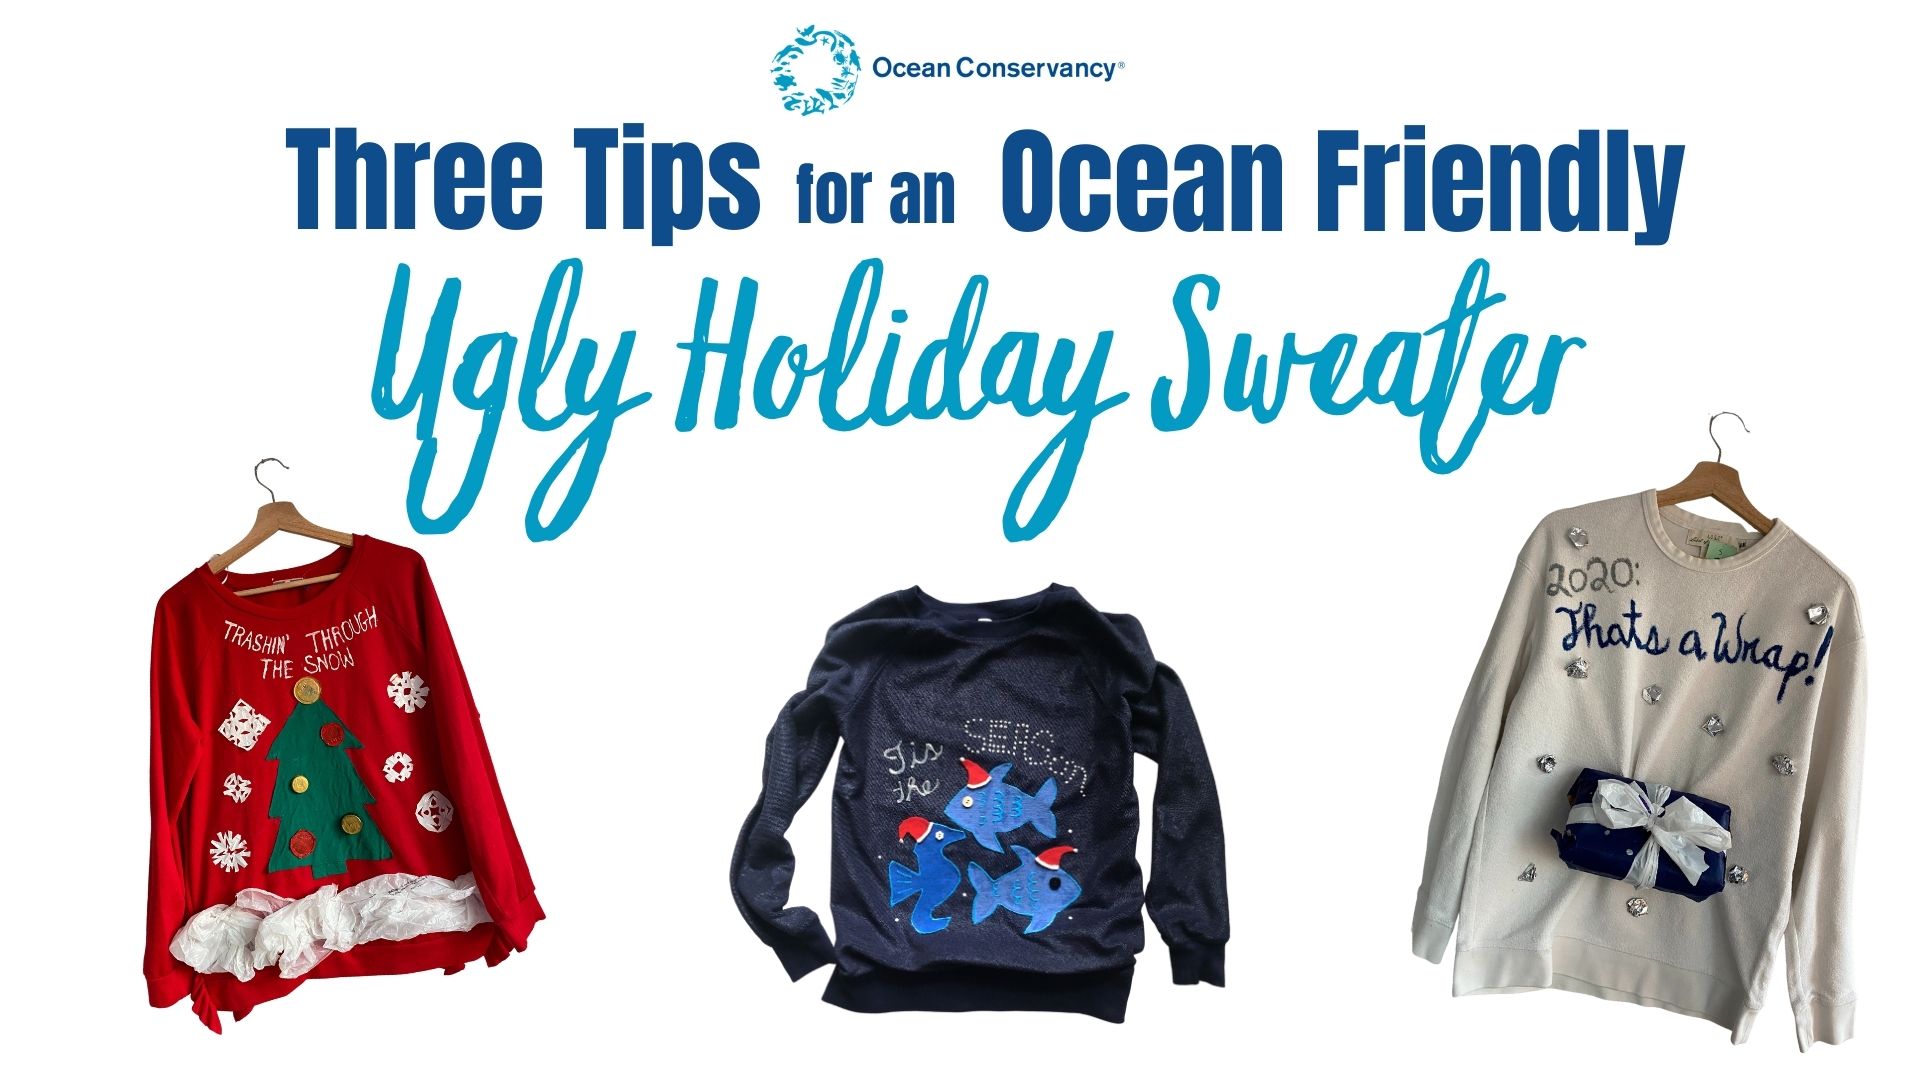
Tis the SEAson for Ugly Sweaters
We’re making homemade holiday sweaters that our ocean will love
The holidays look different this year, but at least one thing has remained the same: the arrival of the ubiquitous “ugly holiday sweater.” There’s nothing that cheers up a Zoom holiday party than watching your friends, coworkers and families decked out in holiday gear.
Unfortunately, these sweaters aren’t just hard to look at—they’re also hard on our ocean. Usually made from synthetic fabrics, these holiday looks shed microplastics and microfibers, which pollute our land and eventually end up in our ocean. (In fact, microfibers are the most commonly found form of microplastics in our waters!). These sweaters are also the fashion world’s equivalent to single-use plastics, often only worn once or twice before being discarded. This funny, fast fashion, unfortunately, comes with negative environmental impacts, from greenhouse gas emissions to water pollution.
Luckily, there is still a way you can have your fun by practicing my favorite of the three ‘R’s: REUSE. In the spirit of the holiday season, you can make your own festive sweaters using materials you already have on hand. It’s easy, it’s fun and you can even do it with friends and family on a video craft date. Follow our three simple steps to make your own ugly sweater:
1. Reuse, Reuse, Reuse
Work with what you have. Is there a sweatshirt you never wear? Now’s the time to give it a new life. And no need to head to the fabric store if you’ve got old t-shirts lying around. If you’re short on supplies, buy second-hand from places like Goodwill or your local thrift shop. If you’re not able to shop in person this year, websites like thredUP, Depop and Poshmark offer a great online thrifting experience—and (if you don’t feel like crafting) are already stocked with pre-worn, ready-made ugly sweaters.
2. Find Inspiration in Your Recycling Bin
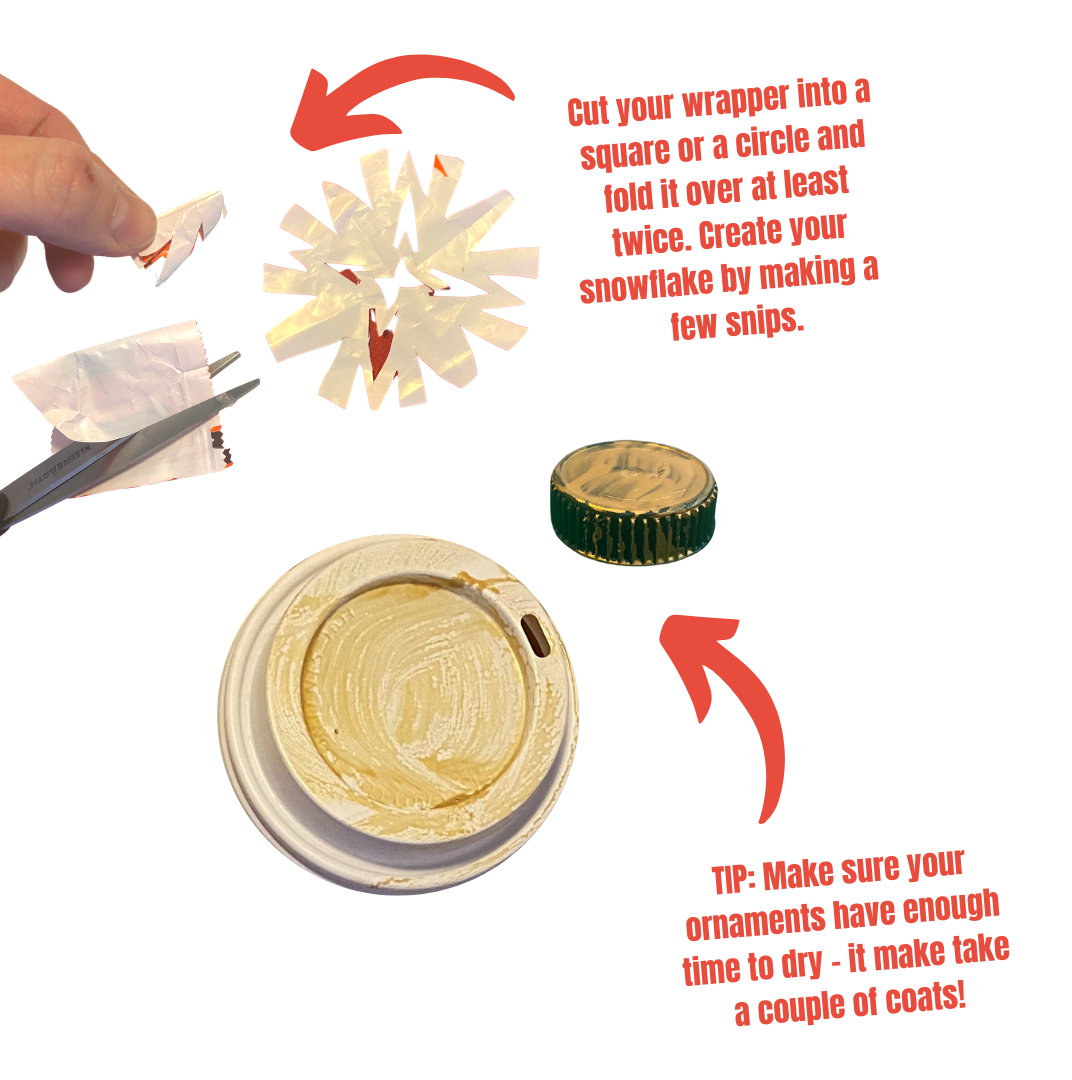
Every year, volunteers with Ocean Conservancy’s International Coastal Cleanup collect millions of items from beaches and waterways across the world. Take inspiration from the list of top ten most commonly found items to create your ugly sweater. With a little paint, bottle caps (ranked fourth on the ICC top ten list this year) become Christmas ornaments. Plastic grocery bags (number seven on the ICC top ten list, and one of the deadliest forms of marine debris) can be glued or sewn on to create a snowy scene. Food wrappers, the number one most commonly found item at the 2019 ICC, offer a variety of possibilities—rinse them off and create snowflakes with white wrappers, or tinsel from silver ones.
3. Get Creative with Your Holiday Wishes
By creating your own holiday sweater, the pun-ibilities are truly endless. We recommend taking inspiration from the ocean itself and use your sweater to wish your friends and loved ones “Sea-sons greetings” or “Merry Fish-Mas.”
Now, Let’s Make One Together
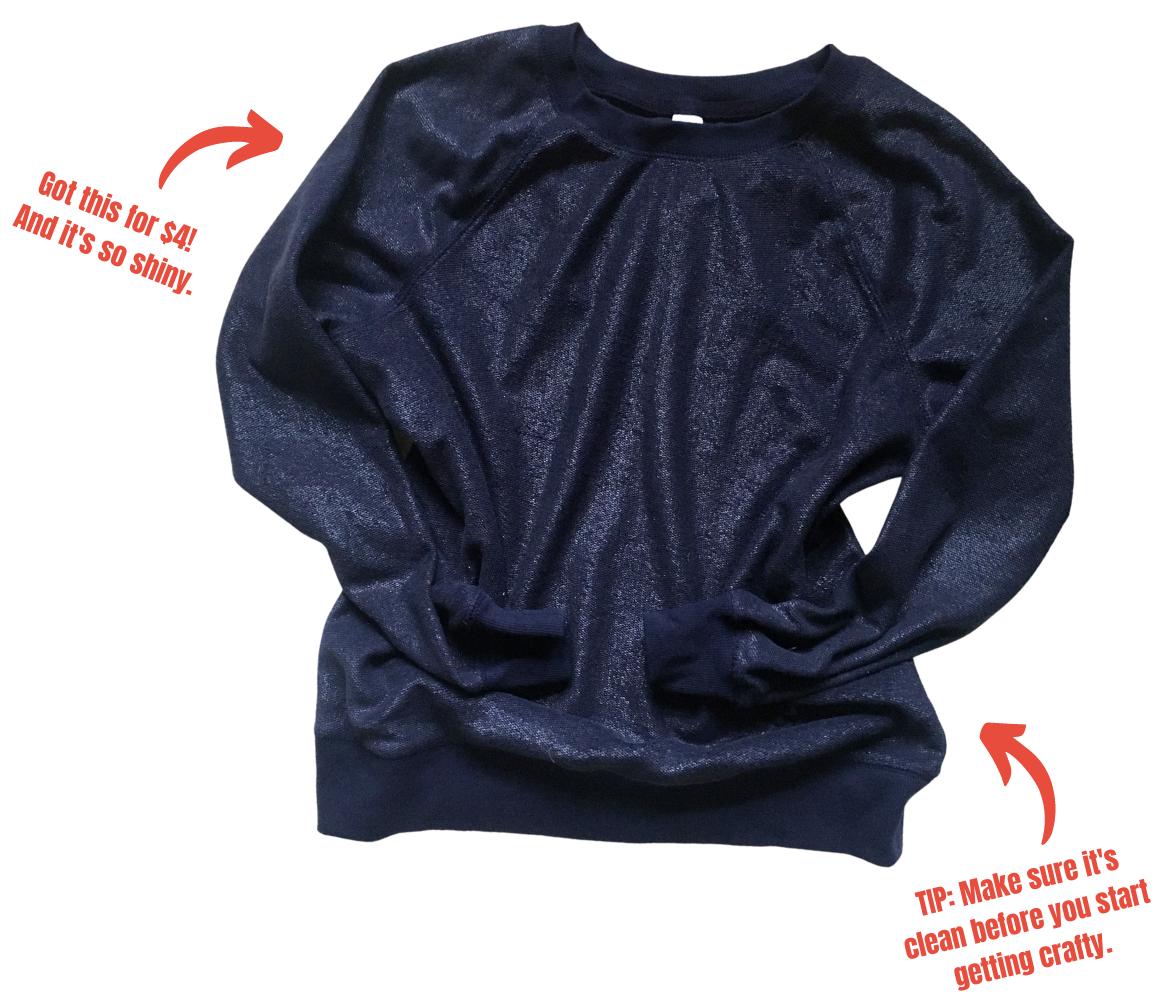
To get you started, we developed three easy how-tos for you. Before starting any of these designs, you’ll need to:
- Find a sweater base: Do you have an old sweatshirt you never wear? It’s time to give it a new life! If you don’t have one handy, try a local or online thrift shop.
- Gather supplies: You’ll need a few basics like scissors, tape and fabric glue (or a needle and thread). Otherwise, the sky is the limit!
Option 1: SEAsons Greeting
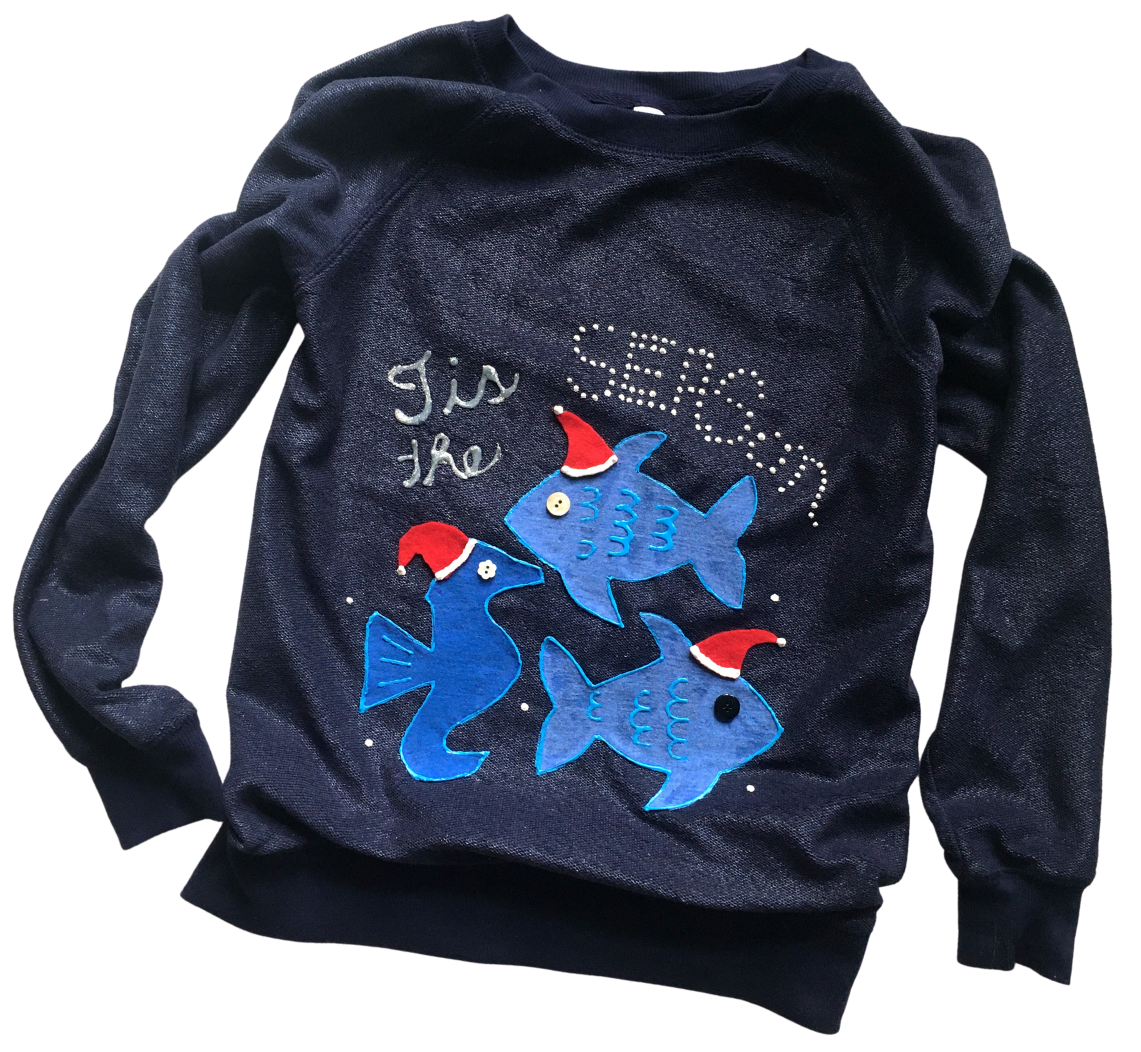
Additional supplies: For this design, we used old International Coastal Cleanup t-shirts, felt scraps from previous craft projects and puffy fabric paint. You could use any old fabric scraps like lonely socks, faded bandanas or old sheets. You can even get creative with any art supply you might have lying around like lettering or yarn skeins.
Step 1: Sketch it Out
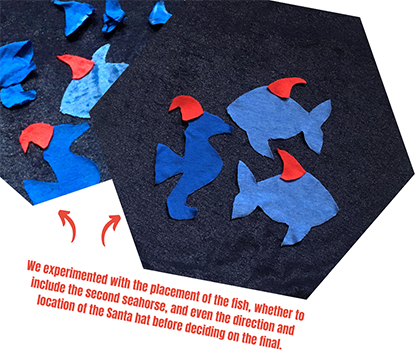
My colleague, Jordana, made this design. She picked seahorses because she loves them and fish because they were simple to draw. If you need a helping hand, you can find tons of simple ocean life clip art images to print, cut out and trace too.
Step 2: Lay it All Out
Getting the right layout takes a bit of trial and error, so hold off on the glue until you’ve had the chance to play around with the design. Think of where the decorations and lettering will go. Does the Santa hat look better facing one direction or the other? You’re the artist so it’s up to you! Don’t be afraid to experiment.
Step 3: Glue it Down
Carefully apply glue to the back of each element and apply it to the sweater base. It helps to do a little bit at a time rather than all at once. Fabric is floppy and you don’t want it to fold over itself and get glue everywhere. Pinning items in place until you can glue them can help too.
Step 4: Embellish
It’s time to add the festive details! Jordana created Santa hats out of red felt and white puffy paint and used buttons for eyes. She also opted for the “pearl” effect in the word “SEAson.”
Option Two: That’s a Wrap
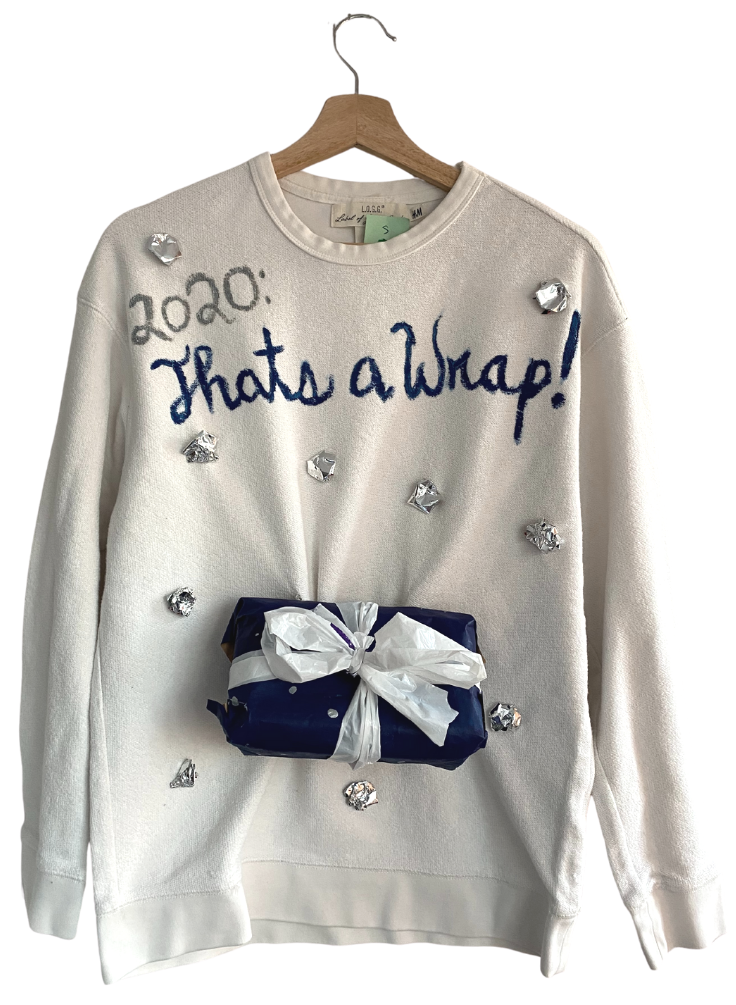
Additional supplies: For this design, I used a plastic strawberry container, fabric paint and Kit Kat wrappers. I didn’t have wrapping paper so I cut, painted and decorated a paper grocery bag to create the gift box.
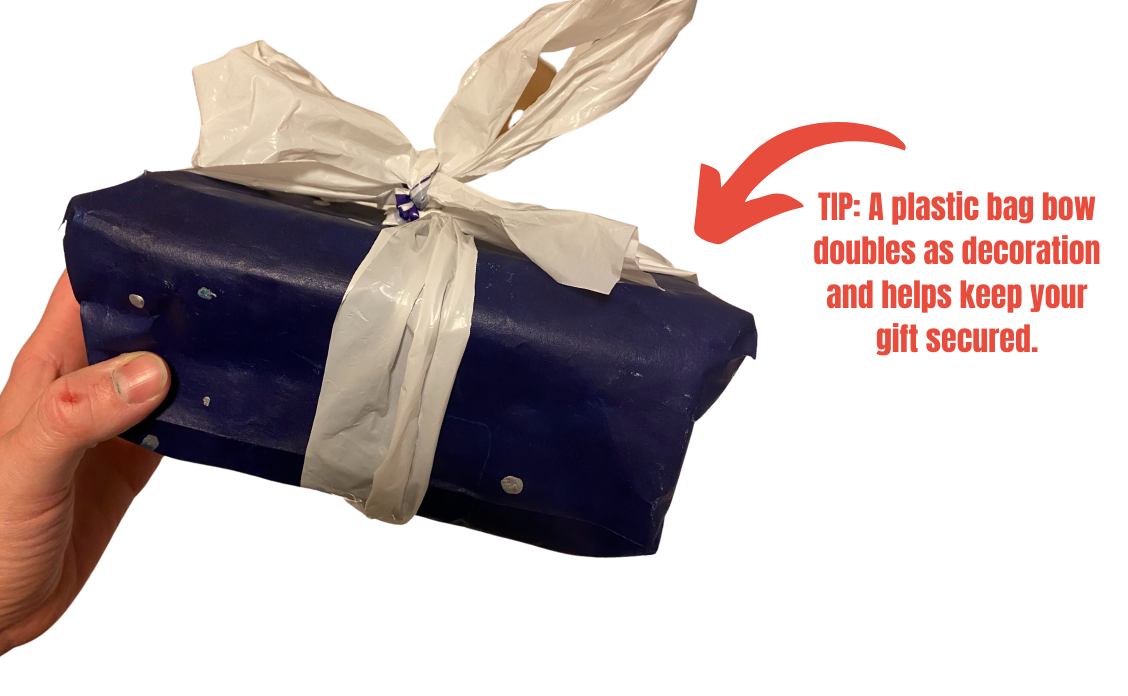
Step 1: Wrap and Secure
Bring your ugly holiday sweater into the third dimension! This is the trickiest part, but don’t be intimidated. I used the holes already in the container and ran a strand of yarn through them vertically so that both ends are outside the box. I repeated this process, about two inches apart from my first strand. Then, I began to wrap the box and marked the location of my yarn before securing it. I finished wrapping the box and created two holes where marked on each side to pull the yarn through the wrapping paper. I punctured my sweater using a knitting needle (you could also use scissors) and pulled the yarn through, tying it tightly.
Step 2: Get Trashy
I used the number one most commonly item at the 2019 International Coastal Clean Up to make my sweater. That’s right, food wrappers. You can get creative and cut them out as snowflakes, create tinsel or glue them down to create festive baubles.
Step 3: Embellish
I kept this sweater relatively simple, but the possibilities are endless. Add on puff paint details or more food wrapper creations to create the design of your dreams. I was inspired by the want to send off 2020 the only way it deserves, with an empty present made of trash.
Option 3: Trashing Through the Snow
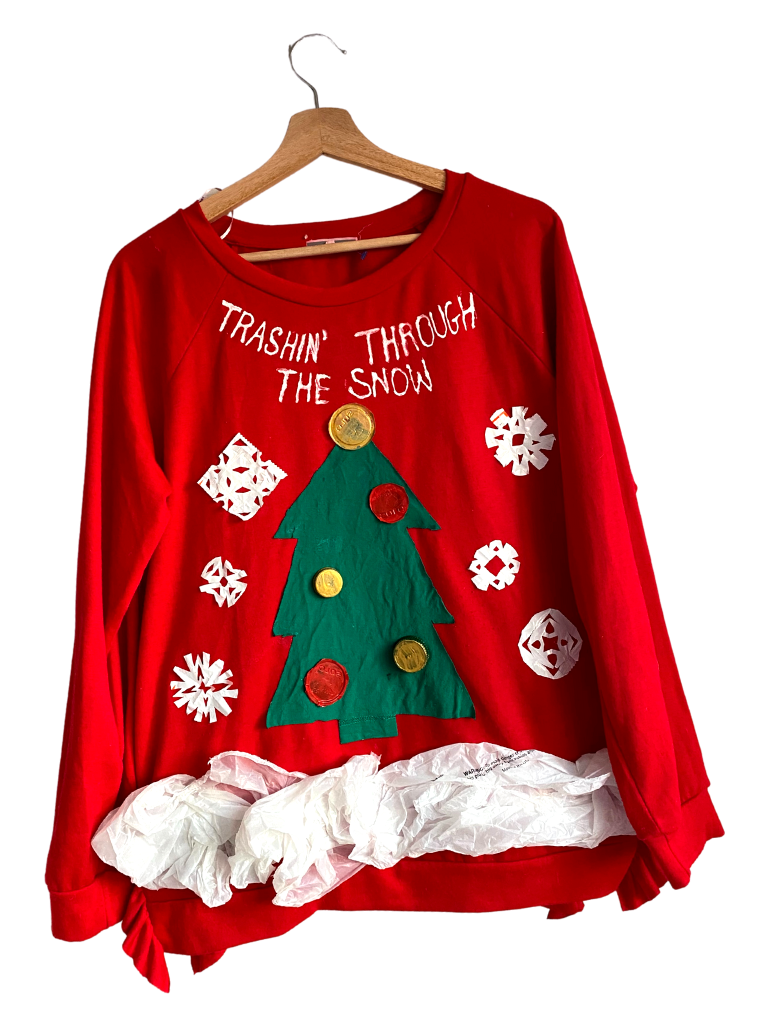
Additional supplies: For this design I used a thrifted t-shirt, small condiment takeout containers and lids, bottle caps, candy wrappers, acrylic pain and fabric paint. Old rags, gloves, socks or any clothing could be used to make your decorations.
Step 1: Transform Your Trash
I relied on some of the top ten most commonly found items at the International Costal Cleanup to make this sweater. I used acrylic paint to turn bottle caps and plastic containers in Christmas ornaments. I transformed candy wrappers into festive snowflakes with just a cut of my scissors.
Step 2: Sketch & Lay it All Out
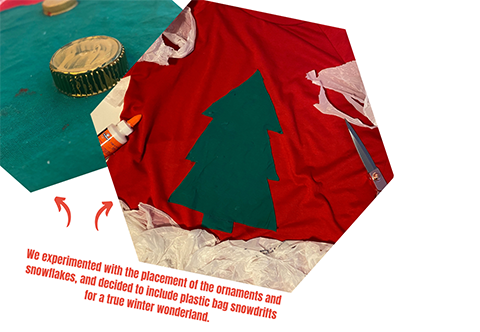
For this winter scene, I went freehand with the Christmas tree. If you need a helping hand, you can find tons of stencils and guides online to print out and trace. Once I cut out my tree, I laid it in the center of my shirt and experimented with laying out the other elements. The best part? If something goes wrong, the goal was always an ugly sweater!
Step 3: Put it all together
Glue down each element. Then, it is time to add the festive details. I trimmed out my tree with gold and red ornaments and used puffy paint to make sure everyone knows we’re “Trashin’ Through the Snow.”
Whether you’re celebrating with your pandemic pod in person or toasting loved ones on Zoom, these crafty creations are sure to spread holiday cheer. We can’t wait to see what incredible creations you come up with. Show us your crafty creations @OurOcean.